How to Create Automated Alerts When Tasks Fail
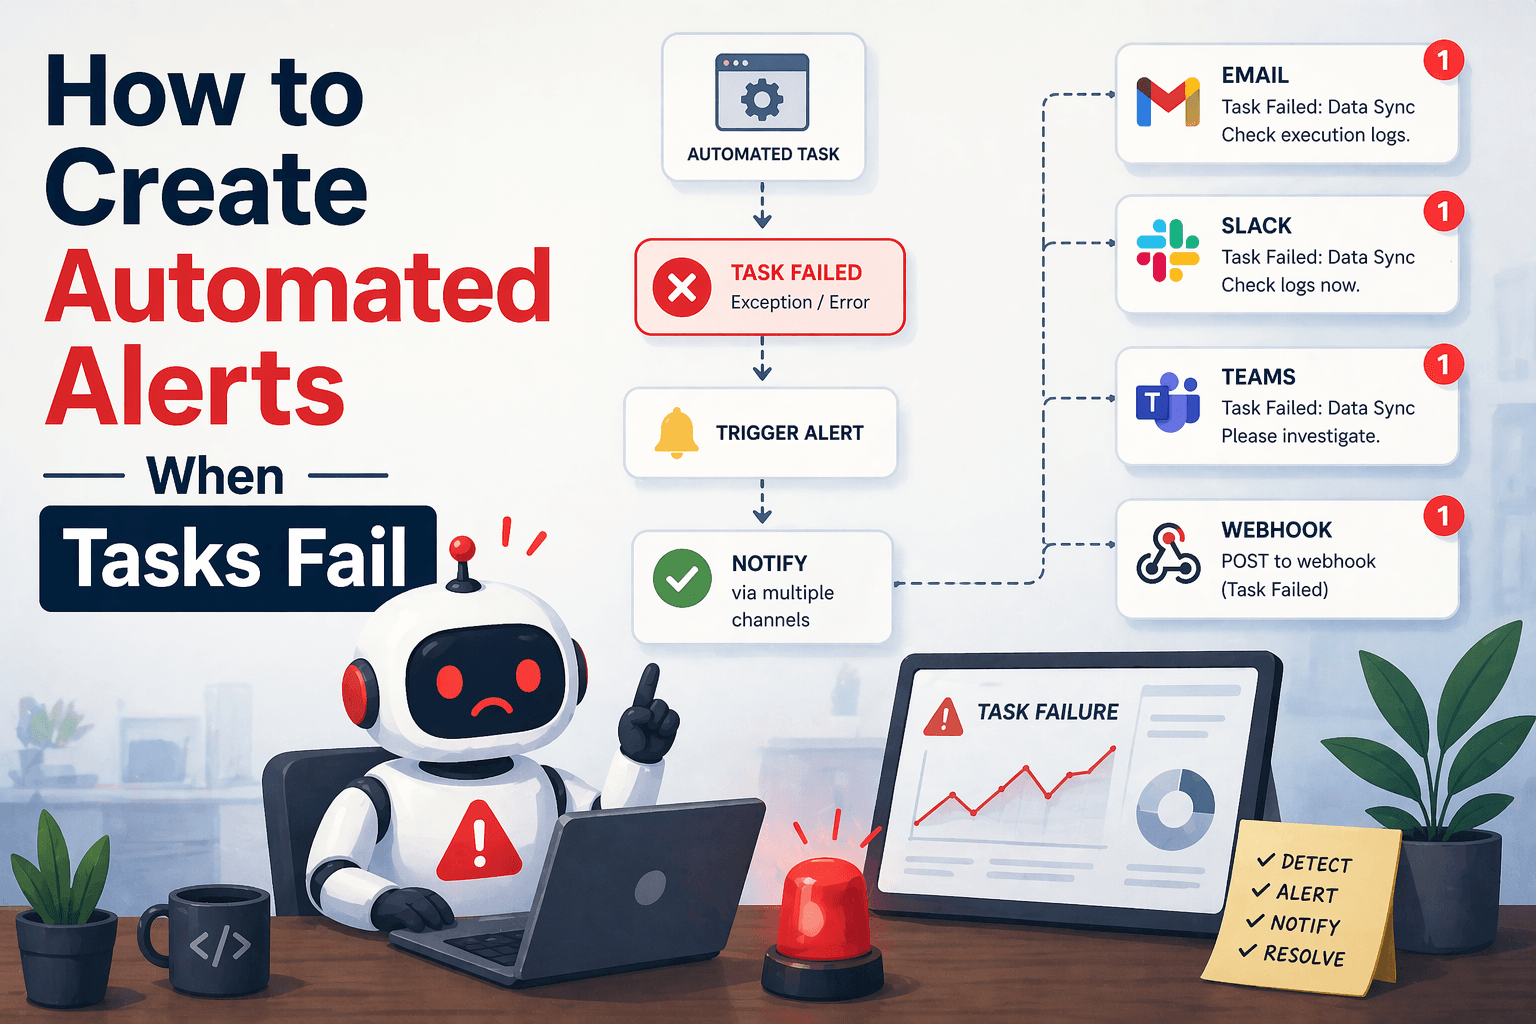
By the end of this tutorial, you will understand how to design automation workflows that notify you immediately when something goes wrong instead of silently failing. This is essential for any serious automation system because failures are inevitable, and the real problem is not the failure itself but discovering it too late.
To follow along, you only need a basic understanding of how your automation tasks run, whether they involve browser actions, data pipelines, or scheduled jobs. The focus here is not on heavy code, but on building a reliable alerting layer that sits on top of your workflow.
This setup typically takes less than an hour to implement in its basic form, but it can save hours of debugging and lost data later. If you run multiple workflows across different environments or schedules, Appilot can help manage execution while your alerting logic ensures that nothing goes unnoticed.
You will build a system that detects failures, triggers alerts, and delivers notifications through channels such as email, messaging apps, or dashboards.
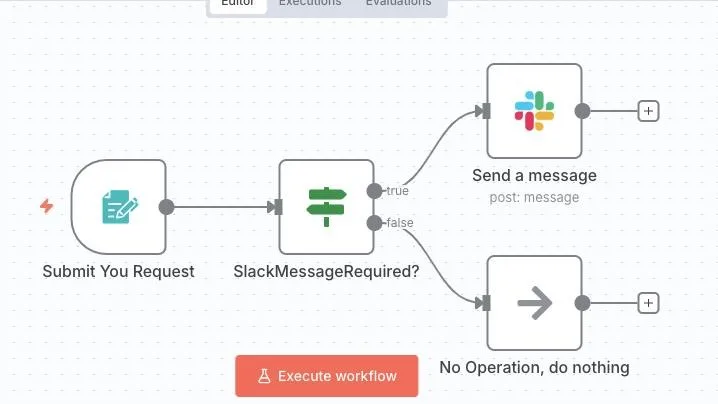
What This Tutorial Builds — And Why This Approach
This tutorial builds an alerting layer that integrates with your automation workflow and activates whenever a failure is detected. Instead of relying on manual checks or logs, the system actively informs you when something breaks, allowing you to respond quickly.
This approach is important because many automation failures go unnoticed for long periods, especially in scheduled workflows. A script may fail overnight, and the issue may only be discovered hours later when data is missing or tasks are incomplete. Automated alerts eliminate this delay by making failures visible immediately.
At a small scale, alerting can be added directly to your local scripts. At a larger scale, where multiple workflows run continuously, Appilot becomes useful because it helps centralize monitoring while your alerting logic ensures that critical issues are surfaced instantly.
How the System Works — Architecture Overview
At a high level, the workflow runs as usual while monitoring for errors or unexpected conditions. When a failure is detected, the system triggers an alert event, which sends a notification through a chosen channel. This could be an email, a messaging platform, or a monitoring dashboard.
This structure separates execution from notification. The automation performs tasks, while the alerting system listens for failures and responds accordingly. This separation makes the system more flexible and easier to expand.
Part 1 — Defining What Counts as a Failure
Step 1 — Identify Failure Conditions
The first step is defining what should trigger an alert. Not all issues require notifications, so it is important to focus on meaningful failures. These may include tasks that do not complete, missing data, unexpected outputs, or repeated retries that exceed a threshold.
Clear definitions prevent unnecessary alerts and ensure that notifications are useful.
Step 2 — Differentiate Between Minor and Critical Failures
Some failures may be minor and recoverable, while others may require immediate attention. For example, a temporary delay might not need an alert, but a complete workflow failure should trigger one.
This distinction helps prioritize alerts and avoid noise.
Part 2 — Detecting Failures in the Workflow
Step 3 — Add Validation Checks
After each important step, the workflow should confirm that the expected outcome was achieved. If the result is missing or incorrect, it should be treated as a failure condition.
These checks ensure that failures are detected early rather than at the end of the workflow.
Step 4 — Monitor Error Signals
Errors can appear as exceptions, missing elements, empty data, or unexpected values. These signals should be captured and used to trigger alerts.
The more clearly these signals are defined, the more reliable your alerting system will be.
Part 3 — Triggering Alerts Automatically
Step 5 — Choose Notification Channels
Alerts can be sent through various channels depending on your needs. Common options include email notifications, messaging platforms, or internal dashboards. The choice depends on how quickly you need to respond and how your team prefers to receive updates.
For critical workflows, instant messaging alerts are often more effective than email.
Step 6 — Include Useful Information in Alerts
An alert should not only say that something failed, but also provide context. This includes details such as the task name, the type of failure, the time of occurrence, and any relevant error messages.
Providing this information makes it easier to diagnose and fix the issue quickly.
Part 4 — Building the Alerting Workflow
Step 7 — Connect Failure Detection to Alerts
Once failure conditions are defined and detected, the workflow should trigger an alert immediately. This creates a direct link between detection and notification.
This connection ensures that no failure goes unnoticed.
Step 8 — Avoid Duplicate Alerts
If the same failure occurs repeatedly, sending multiple alerts can create noise. A better approach is to group similar failures or limit how often alerts are sent for the same issue.
This keeps notifications meaningful and manageable.
Part 5 — Improving Alert Quality
Step 9 — Add Severity Levels
Not all alerts are equal. Assigning severity levels helps prioritize responses. Critical alerts may require immediate action, while lower-level alerts can be reviewed later.
This makes the system more organized and effective.
Step 10 — Track Alert History
Keeping a record of alerts helps identify patterns and recurring issues. Over time, this data can be used to improve the workflow and reduce failures.
Tracking also helps measure how reliable your automation system is.
Part 6 — Real-World Considerations
Step 11 — Balance Sensitivity and Noise
An alerting system should be sensitive enough to catch real issues but not so sensitive that it generates constant noise. Too many alerts can lead to alert fatigue, where important notifications are ignored.
Finding the right balance is key to effective monitoring.
Step 12 — Combine Alerts with Self-Healing Logic
Alerts are most useful when combined with self-healing workflows. The system can attempt to fix issues automatically and only send alerts when recovery fails.
This reduces unnecessary notifications and improves efficiency.
Step 13 — Scaling with Appilot
At this stage, the alerting system works locally and can notify you of failures effectively. As workflows scale, managing alerts across multiple systems becomes more complex.
This is where Appilot becomes useful because it helps centralize monitoring, track failures, and manage alerts across multiple workflows without changing the alerting logic itself.
FAQ
Q1: What are automated alerts in automation workflows?
They are notifications triggered when tasks fail or produce unexpected results.
Q2: Why are alerts important?
Because they help detect failures immediately instead of discovering them later.
Q3: What channels can I use for alerts?
Common options include email, messaging apps, and dashboards.
Q4: How do I avoid too many alerts?
By defining clear failure conditions and limiting duplicate notifications.
Q5: Do I need Appilot for this workflow?
No, you can implement alerts locally. Appilot becomes useful when managing alerts at scale.
Conclusion
Automated alerts are essential for building reliable automation systems because they ensure that failures are detected and addressed quickly. The key is to define meaningful failure conditions, connect them to clear notifications, and provide enough context to resolve issues efficiently.
Start with simple alerting rules, refine them based on real-world usage, and gradually improve the system to balance sensitivity and noise. Once in place, alerts become a critical layer that keeps your automation trustworthy and manageable.