How to Create Loop-Based Automations That Run Until Conditions Are Met
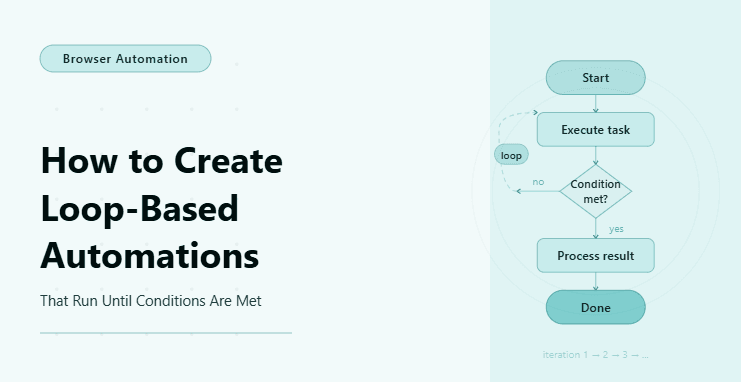
By the end of this tutorial, you will have a working automation system that continuously runs in a loop and stops only when a defined condition is satisfied, which is one of the most practical patterns used in real-world automation where tasks depend on changing data rather than fixed schedules. Instead of running once and exiting, your automation will keep checking, processing, and adapting until it reaches a desired outcome.
To follow along, you need Python 3.9 or higher, a basic understanding of loops and functions, and familiarity with running scripts from the terminal. You do not need advanced knowledge, but you should be comfortable reading and modifying simple code structures.
This setup typically takes around one to two hours to build and test, and once it is running, it can operate continuously with minimal supervision. For this tutorial, the workflow will be implemented locally, but if you need to run persistent automations across multiple environments or accounts, platforms like Appilot can later be used to manage execution without building additional infrastructure.
You will build a system that repeatedly executes tasks, evaluates a condition after each iteration, and stops only when the condition is met, which is essential for use cases like waiting for price changes, monitoring updates, or retrying tasks until success.
What This Tutorial Builds — And Why This Approach
This tutorial builds a loop-based automation workflow that repeatedly performs a task and evaluates a condition after each iteration, allowing the system to continue running until a specific requirement is satisfied rather than stopping prematurely. This approach is critical for scenarios where outcomes depend on external systems, timing, or changing data, making one-time execution insufficient.
The system is designed to be safe and controlled so that it does not run indefinitely without limits, which is a common mistake when implementing loops in automation. By adding condition checks, retry limits, and delays, the workflow becomes stable and predictable while still maintaining flexibility.
At a small scale, running this loop locally is sufficient, but when the number of tasks increases or when automations need to run continuously across multiple accounts, managing execution manually becomes difficult. This is where Appilot becomes useful as an execution layer that allows you to run loop-based automations reliably with built-in scheduling and monitoring.
How the System Works — Architecture Overview
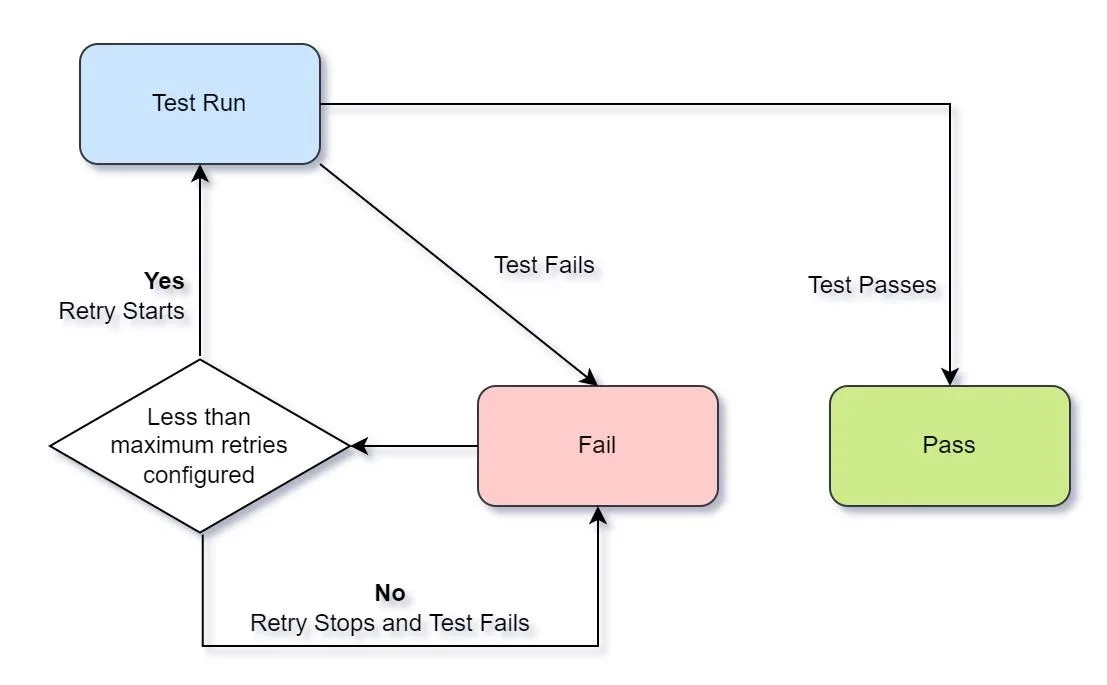
At a high level, the system continuously processes tasks inside a loop where each iteration performs an action and then checks whether a condition has been met. If the condition is not satisfied, the loop continues after a controlled delay, and if the condition is met, the loop exits gracefully.
This structure ensures that the automation behaves intelligently by reacting to real-time data rather than relying on fixed timing, which is essential for use cases such as waiting for an event, confirming a successful action, or monitoring changes over time.
Part 1 — Environment Setup
Step 1 — Install Dependencies
The first step is to install the required dependencies, which provide the foundation for running automation workflows and interacting with external systems.
pip install playwright
playwright install chromium
After installation, you should verify that everything is working correctly before proceeding.
playwright --versionStep 2 — Initialize Project Structure
A structured project layout helps manage complexity as the loop-based automation grows and ensures that logic, configuration, and execution are clearly separated.
mkdir loop-automation && cd loop-automation
mkdir scripts data logs
touch main.py scripts/loop_workflow.py
Part 2 — Building the Loop-Based Automation
Step 3 — Defining the Condition
The condition determines when the loop should stop, and it must be clearly defined so that the system knows exactly what success looks like.
def condition_met(data):
    return data.get("status") == "complete"
This function evaluates whether the desired outcome has been achieved and returns a boolean value that controls the loop.
Step 4 — Creating the Loop Logic
The loop is the core of this system and is responsible for continuously executing tasks until the condition is satisfied.
import asyncio
async def run_loop(task_func, check_func, max_attempts=10):
    attempt = 0
    while attempt < max_attempts:
        result = await task_func()
        if check_func(result):
            print("Condition met, stopping loop")
            return result
        print(f"Condition not met, retrying... Attempt {attempt + 1}")
        attempt += 1
        await asyncio.sleep(5)
    print("Max attempts reached, exiting")
    return None
This structure ensures that the loop continues running while also preventing infinite execution by enforcing a maximum number of attempts.
Step 5 — Implementing the Task Function
The task function represents the action that is repeated in each loop iteration, such as checking a status, fetching data, or performing an operation.
async def sample_task():
    import random
    value = random.randint(0, 10)
    if value > 7:
        return {"status": "complete", "value": value}
    return {"status": "pending", "value": value}
This example simulates a condition that eventually becomes true, allowing you to test the loop behavior.
Step 6 — Adding Safety Mechanisms
Loop-based automations must include safeguards to prevent runaway execution, which can lead to system overload or unintended consequences. By controlling retries, delays, and exit conditions, the workflow becomes reliable and manageable.
Part 3 — Running the Workflow
Step 7 — Main Execution Script
The main script connects the loop logic and task function, enabling the automation to run until the condition is met.
import asyncio
async def main():
    result = await run_loop(sample_task, condition_met)
    print("Final result:", result)
asyncio.run(main())
Running this script will repeatedly execute the task until the condition returns true or the maximum attempts are reached.
Step 8 — Scaling Execution with Appilot
At this point, the loop-based automation works in a local environment, but continuous execution across multiple workflows or accounts introduces operational challenges such as monitoring, scheduling, and failure handling. Managing these aspects manually becomes inefficient as the system scales.
This is where Appilot becomes relevant because it allows you to run persistent automations without worrying about infrastructure, ensuring that loops continue running reliably while providing visibility into execution status. Instead of manually restarting scripts or tracking logs, you can manage everything through a centralized interface while keeping your core logic unchanged.
Part 4 — Production Hardening
Step 9 — Common Issues and Fixes
One common issue in loop-based automations is defining conditions that are too strict, which causes the loop to never exit and leads to wasted resources, so it is important to ensure that conditions are realistic and achievable within a reasonable number of iterations.
Another issue arises when delays are not included between iterations, which can overload systems or trigger detection mechanisms, making it essential to introduce controlled pauses that mimic natural behavior and reduce system strain.
Loops can also fail silently if errors are not properly handled, which is why logging and error tracking should always be implemented to ensure visibility into what the automation is doing at any given time.
Step 10 — Optimization Strategies
As workflows scale, optimizing loop performance becomes critical, and this involves balancing speed with reliability by adjusting delay intervals, reducing unnecessary operations, and ensuring that condition checks are efficient and not overly complex.
Using asynchronous execution can significantly improve performance by allowing multiple operations to run concurrently, but it must be implemented carefully to avoid introducing race conditions or inconsistent results.
FAQ
Q1: What is a loop-based automation?
A loop-based automation repeatedly executes a task until a defined condition is met instead of running once and stopping.
Q2: How do I prevent infinite loops?
You can prevent infinite loops by setting a maximum number of attempts and ensuring that exit conditions are clearly defined.
Q3: Can this be used for real-time monitoring?
Yes, loop-based automations are commonly used for monitoring systems where conditions change over time.
Conclusion
Loop-based automation is one of the most powerful patterns you can implement because it allows your system to wait, react, and adapt instead of executing blindly and stopping too early. The key is not just creating a loop, but designing it with clear exit conditions, safety limits, and efficient logic so that it remains reliable even under continuous execution.
Start with simple loops, test your conditions carefully, and gradually introduce complexity as needed. Once your logic is stable, focus on execution and scalability so that your automation can run consistently without manual intervention.